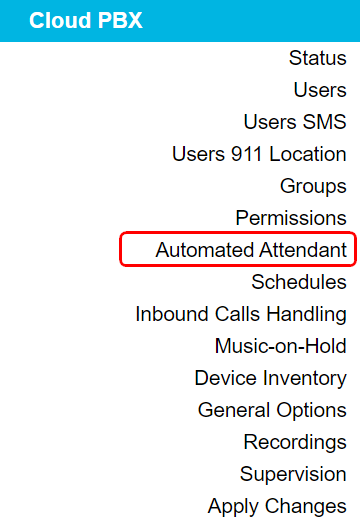
Click Cloud PBX - Automated Attendants, and Click "New Automated Attendant"
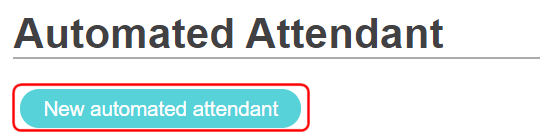
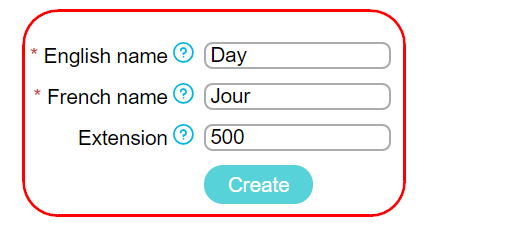
• Enter in the extension number and the name you want to give to that Auto Attendant, then click Create.
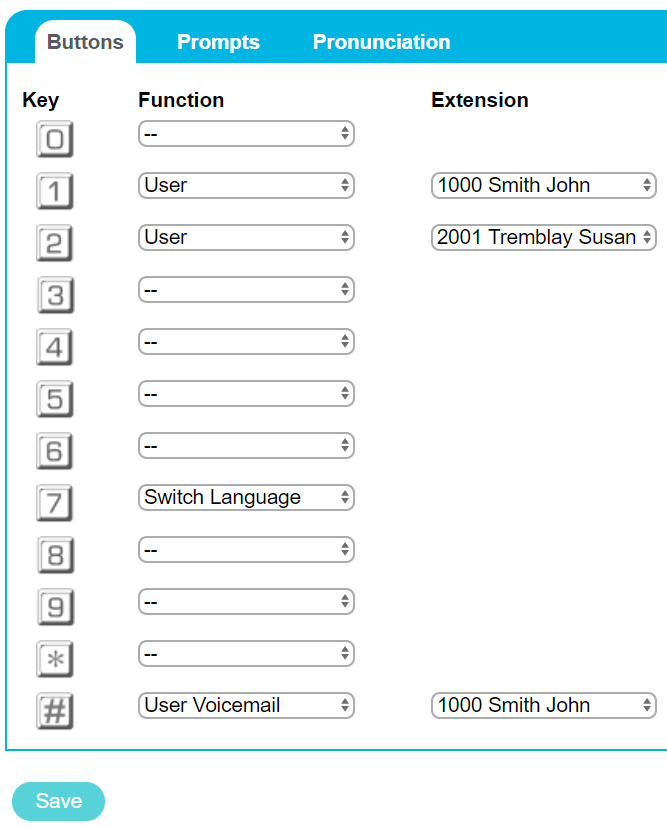
1) First you will want to setup your button keys which will perform specific functions when the caller presses them.
• Click the function drop-down to select what you want it to do.
In this example we have set button 1 to ring John, button 2 to ring Susan, button 7 to switch language, and the # key to go directly to John's voice mailbox.
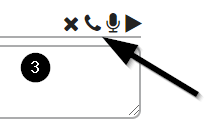
2) Next, you will need to setup the voice prompt.
• Click Prompts, then the Main Tab, then choose either the handset icon or the microphone icon. For this tutorial we will use the option to record the prompt with your handset.

3) In the drop-down menu, select which phone set you want to use to record the prompt. Then click Call.
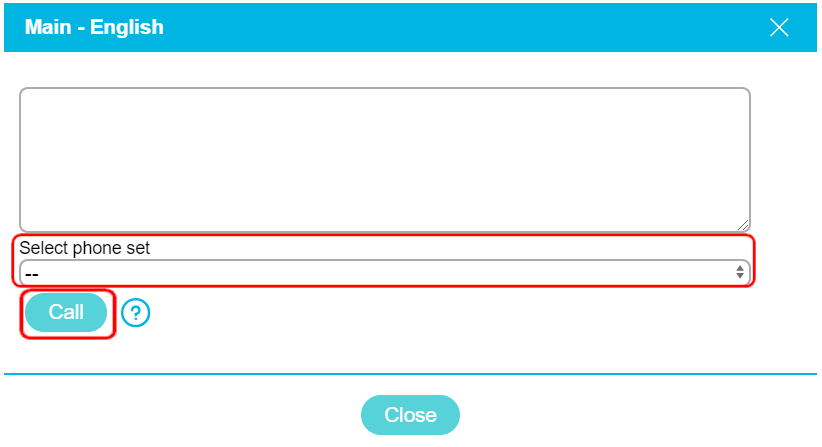
4) Follow the operator's steps to properly save the prompt after. Make sure that your prompt matches the buttons you have selected. See below for an example:
Main English: Welcome to My Business, pour le français, faite le 7. For Support , press 1. For Sales, press 2. To leave us a message directly, press the pound key.
Main French: Pour le support, faite le 1. Pour les ventes, faite le 2. Pour nous laisser un message, appuyez sur le carré.
• Once you have saved your message, hang up the phone, click Close. Then Save your Automated Attendant.

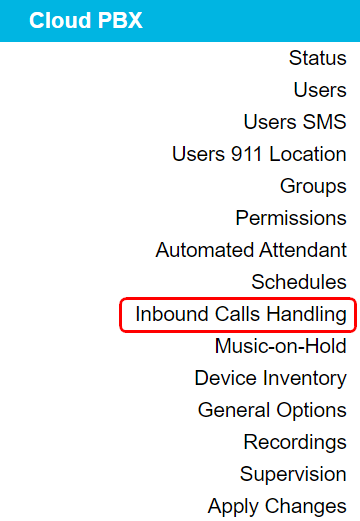
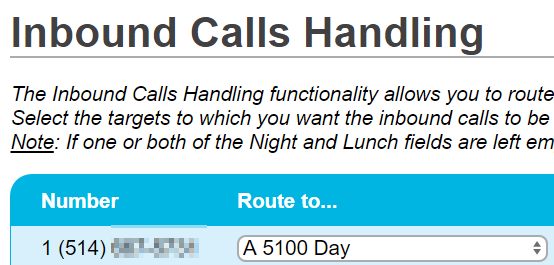
5) Now that your Automated Attendant is setup, point your numbers to it in your Inbound Calls Handling menu by clicking the "Route to" drop-down menu and selecting A 500.
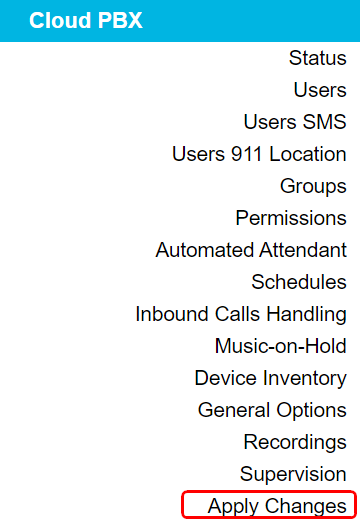
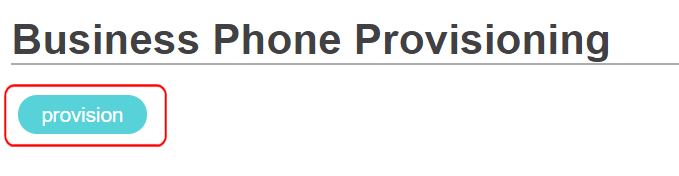
• Click Apply Changes - Provision.